
I don't have pictures of the first step, but what I did was use masonite board for the base and cut it into eighteen 10x10 inch squares. I also had extras cut since the guy at Lowes wasn't too concise with his measurements. The fabric was cut into about 14x14 inch squares as well and I used stuffing and quilt batting that my mom had leftover from a previous project to fluffy up my squares.
When cutting the batting, make sure to make it just large enough to wrap around the edges, or else you may have problems stapling through it latter. Once everything was cut out, I attached the fabric with a staple gun. This was the hardest part for me because the staples did not go through the masonite board well. If I were to redo this project, I would choose a softer board like pine as my base. Start by stapling one side and then do the opposite side and pull tight! If there is extra batting in the corners simply cut it off and then fold in the fabric to staple down.
In lue of photographs, here as some horrible drawings for reference.


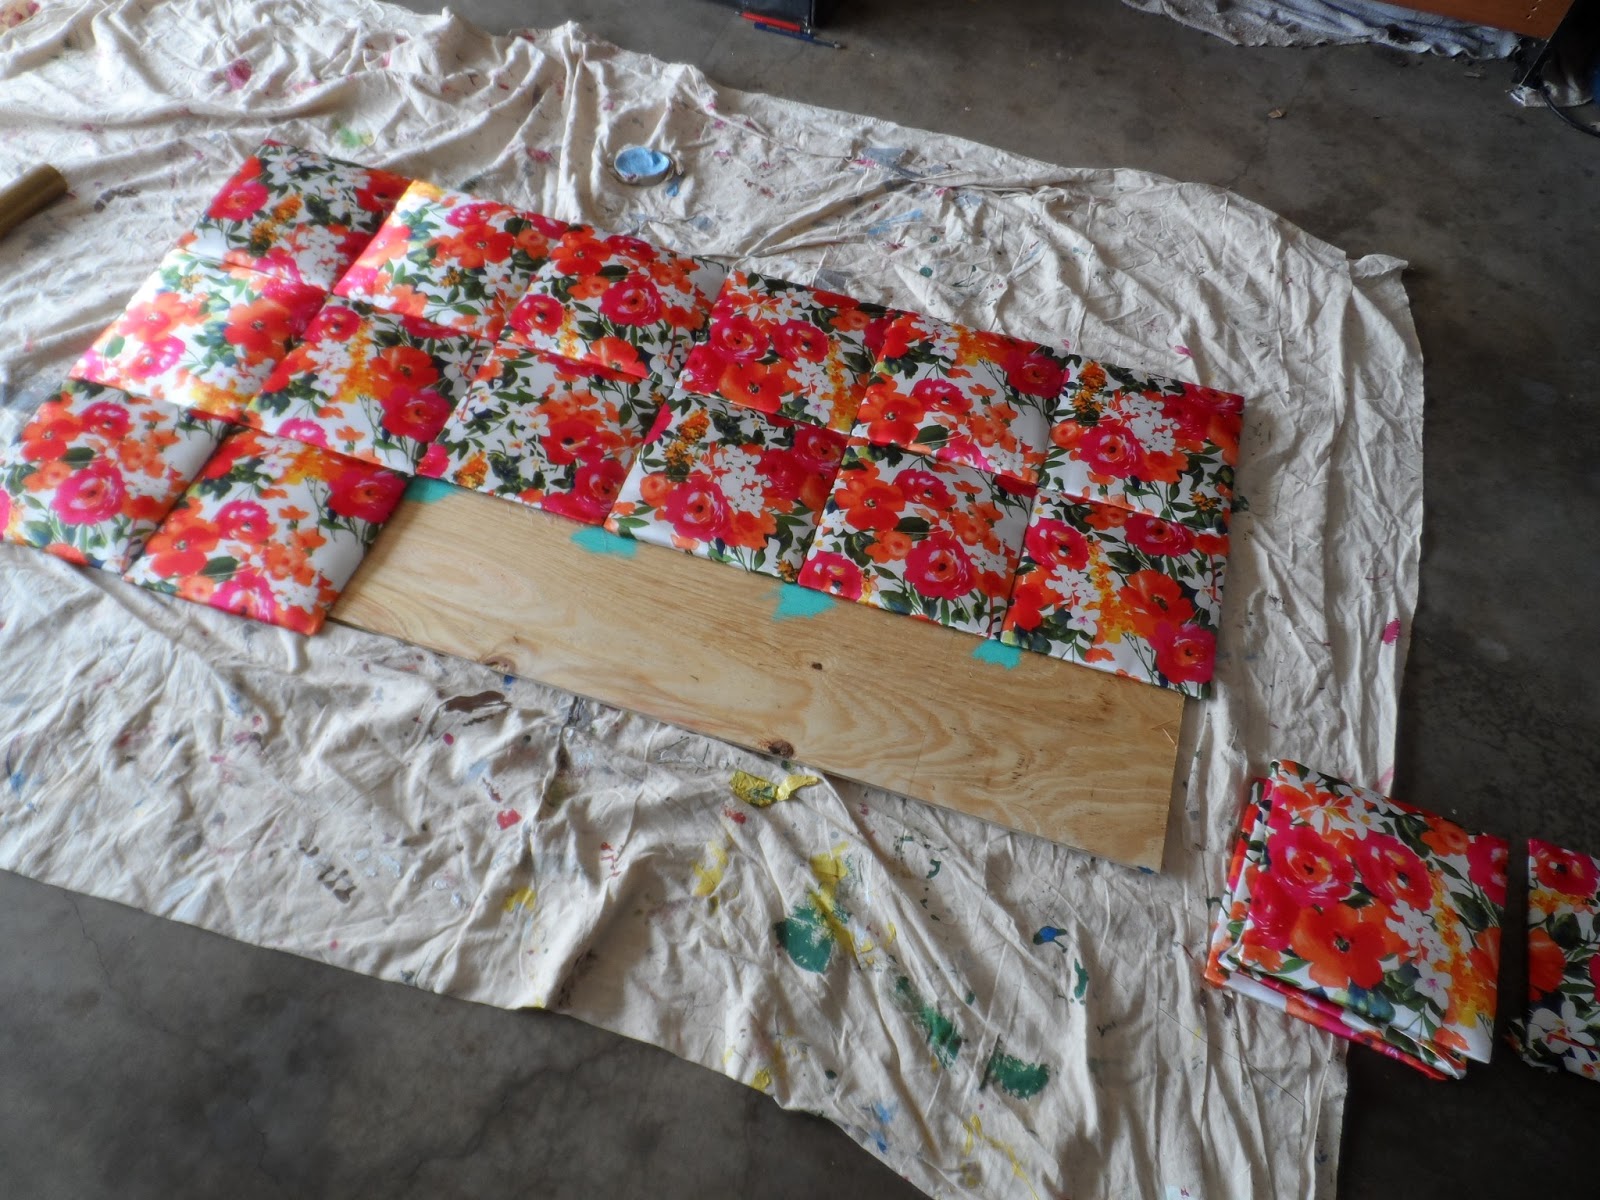
The next step is to adhere the squares to a larger board. I bought a cheap board from Home Depot and had it cut down slightly smaller than the final size in the store. Lay out the squares to figure out which ones line up best (some may not be straight or the same size thanks to Lowes guy mentioned above :P). Once the final layout is decided, I marked the corners with a pencil and used some paint to cover up any wood that was showing though.

To attache the squares, I used liquid nails (two tubes). Lay out a towel to keep the fabric clean and squeeze a generous amount on the back of the board. Press the square down well. I also used the leftover liquid nails to redo any squares that were not sticking. Don't worry if they move around a bit when touched, though, cause it takes a while for the nails to dry. I left mine out for a few hours before moving it. Also, it will smell for a few days, so I would recommend waiting to hang it up if you don't want to smell the sweet smell of fumes while sleeping.


Now to hang! I used flush mount hanger like the ones found here to keep my headboard sturdy and close to the wall. Attach the hangers to the board and then install the wall mounts based on the board mount measurements. Be sure to measure from the outside edge and not the inside board in case the squares are not attached completely straight. Otherwise you will end up with lots of holes in your wall like me, haha. Chalk lines are also nifty for leveling.


The final product should look something like this! Omg so beautiful like wow.


My next project will be shelves for my mini art collection :)
No comments:
Post a Comment